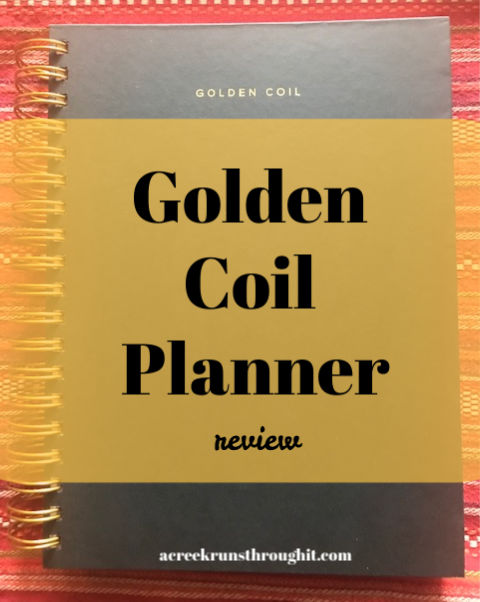
I love paper planners. I have tried to go digital but I need a paper planner. Not only are they fun for me but I tend to remember things better when I write them down. Over the years I have struggled to find a planner that can “fit” all my life stuff. I like to have everything in one place. Family schedules, bill payments, ideas/plans for our businesses, plans for this blog, ranch details (how else will I remember when the horses were dewormed and which cow calved on which date), notes, homeschooling… Everything in one place. Whenever I try to have multiple planners I feel scattered.
This attempt at keeping everything in one place led me to customizable planners and to Golden Coil planners. Some custom planner sites overwhelm me but Golden Coil has a very simple process for designing your own planner. I was able to find spreads to create a place for all my planner must-haves! And next year, if my needs change, I can customize it to fit my life for that moment in time!
Golden Coil has an 8 step process to create a 242-page or less planner. Once you have made all your choices you are able to review your design.
If you want a daily planner or a weekly with a bunch of additional pages (like mine) then you will have to split your year and create a 6-month planner. Since part of my planner is used for homeschooling I like to run on an academic year. I created a 242-page weekly planner that runs 7 months from June-Dec. This does increase your yearly expense as you have to purchase 2 planners per year but I think the customization will make it worth it.
** I am not affiliated with Golden Coil in any way. I’m just a wife, mom, homeschooler, and business owner sharing my honest thoughts and review of a planner purchased with my own funds.**
Specs
- 80# Mohawk paper- it is a nice thick paper with a tooth to it.
- $65 per planner (there are not any other additional fees as you start adding things in)
- The planner cover is approximately 9 7/8″ x 7 3/8″
- The paper is approximately 9 3/4″ x 7 1/4″
Below are photos of the Golden Coil planner next to my classic size Passion Planner and Flagship Daily Day Designer. As you can see, it’s smaller than both of those planners.


The Customization Steps
Step 1: Cover. Choose your cover color and type. When I purchased mine you could pick between a “linen” or “leather” cover style in multiple colors.
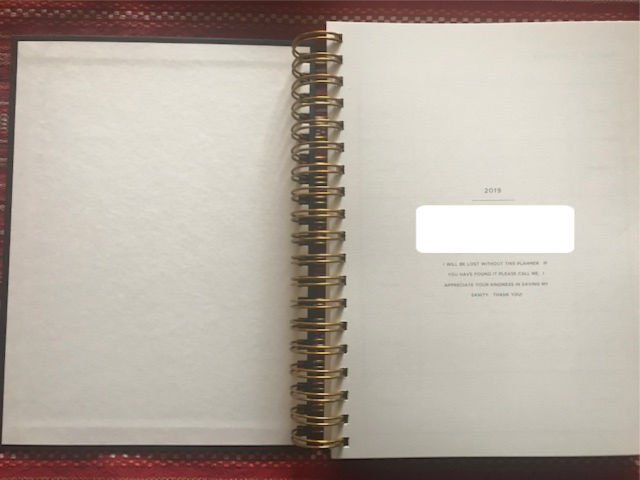
Step 2: The front page. I put my personal info here but you could put a quote or scripture verse.
Step 3: Contacts. I did not want contacts in my planner so I skipped this step. There is the option to upload your contacts so they are pre-printed in your planner.
Step 4: Dates. Choose your start and end dates.
Step 5: Events. You can upload your own events and/or choose from pre-set holidays. I totally missed the pre-set holidays part when I made my planner! I didn’t want to upload any events so I skipped the step. However, if you look at the top of the box you can click on “presets” rather than “upload”. Of course, if you don’t want anything pre-printed you can skip the step like I did!
Step 6: Layouts. Here is where you pick your weekly or daily layout. Pick between a double page weekly, a single page weekly (week on one side and notes/to do’s/etc on
Step 7: Pages. This is where you get to pick from all those glorious extra pages. There are tons of options under the headings of Calendaring, Lifestyle, Health, Projects, and Standard. Meal planning, fitness tracking, social media spreads, reflection pages, project planning, goals- just to name a few. You can choose to add pages to the front of the planner, back of the planner, weekly, or monthly.
Step 8: Add ons. You can add quotes to your weekly or daily layout. There are multiple options for quotes or challenges.
My Custom Golden Coil Choices
Let’s walk through the planner I created from front to back:
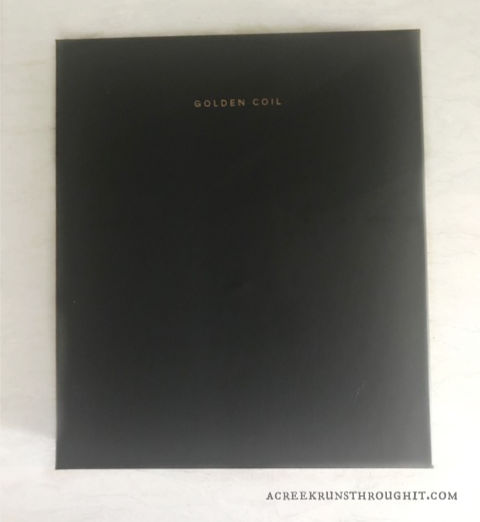
First, it comes in a lovely, keepsake box to protect your planner. You can see in the photo below that the box corners took a tiny bit of a beating in shipping but the planner inside was in perfect condition.
Cover
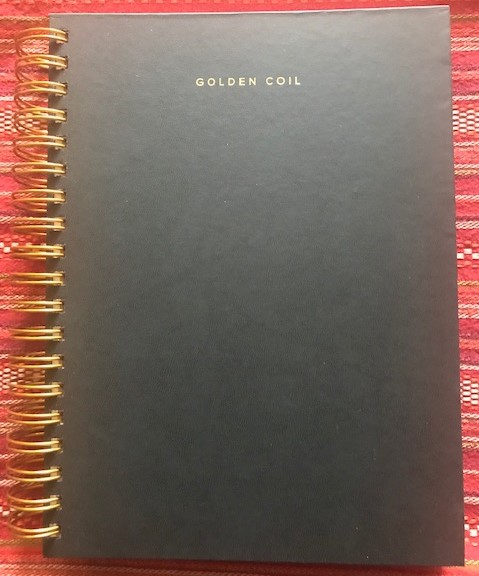
I chose the “leather” cover in Onyx. It is actually a coated paper. I don’t think it really feels like leather but it does have a nice crisp and professional look to it. This is a beautiful planner. It’s so beautiful that I am scared to write in it! This is a first for me as I usually just dive right in!
First Page
The personal info page. You can choose what to type here. Put in your contact info in case your planner is ever lost or choose a favorite quote. The white graphic is covering my personal info.
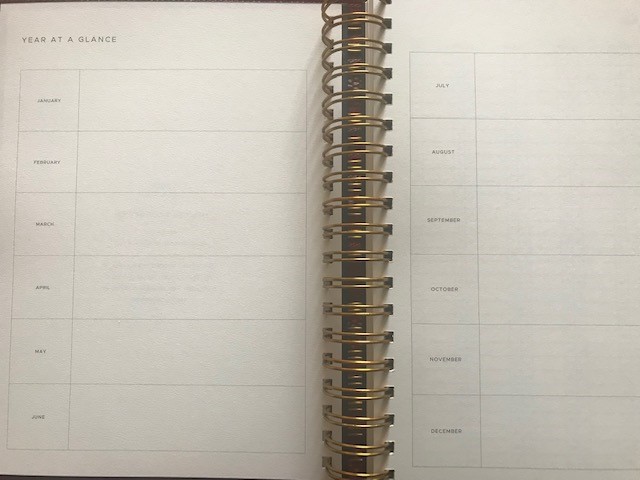
Year at a Glance
The first year at a glance spread is for events that occur during the year that I don’t want to forget. I like to write in local festivals, homeschool deadlines, licensing dates, etc.
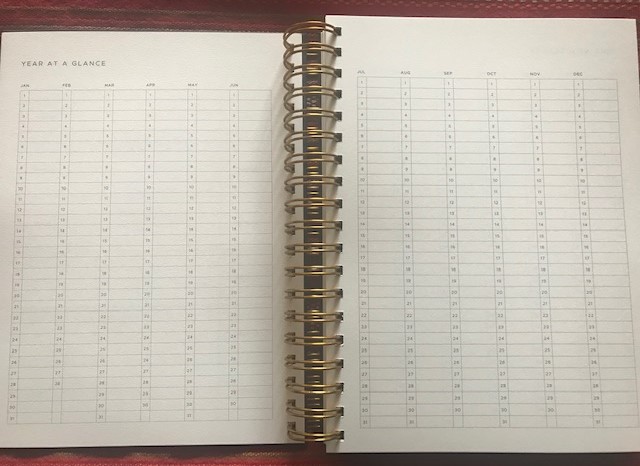
I included 4 of the year at a glance spreads in the pic below. Why 4? Well, I will use one for each child to track homeschool attendance and doctor visits, one to track ranch & pet stuff (vet visits, calving, de-wormer, etc), and one to keep track of my own (and my husband’s) doctor visits, vacations, etc. I love having that full overview of everything that has occurred in one glance. Much easier than having to flip through the monthly pages to figure out when the kids went to the dentist last.
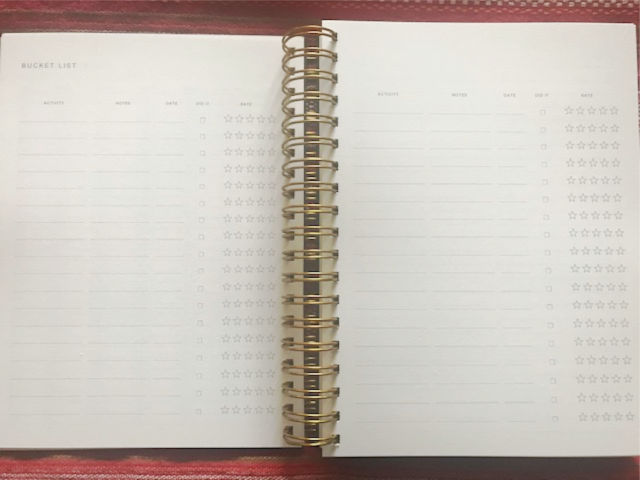
Bucket List
I’ve never used a bucket list before so this will be a first for me. In addition to listing things that my family wants to do, I plan to list fun things/attractions in our area so I can reference it when family/friends are visiting.
Index
I inserted a single
Monthly Spread
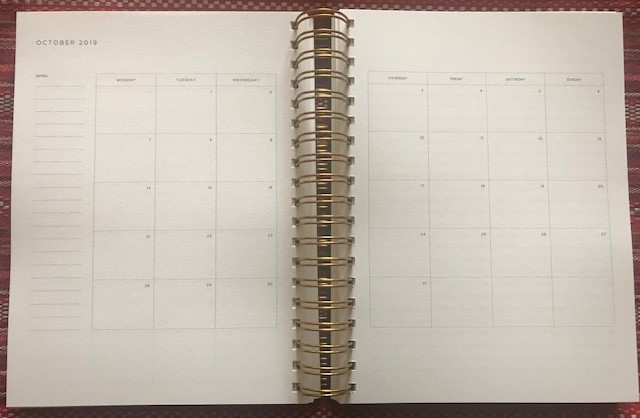
The monthly spread has a Monday start!! I love this! It is a pet peeve of mine when planners have a Sunday start for the month but then a Monday start for the weekly spread. That’s just confusing and I have no clue why that is the standard in the US.
To Do List
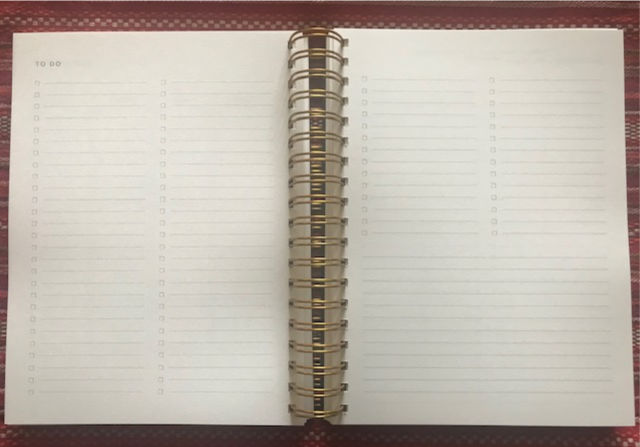
I inserted this beautiful 2 page To Do list spread after each month. Look at all those little boxes to check off! Love it!
Weekly Spread
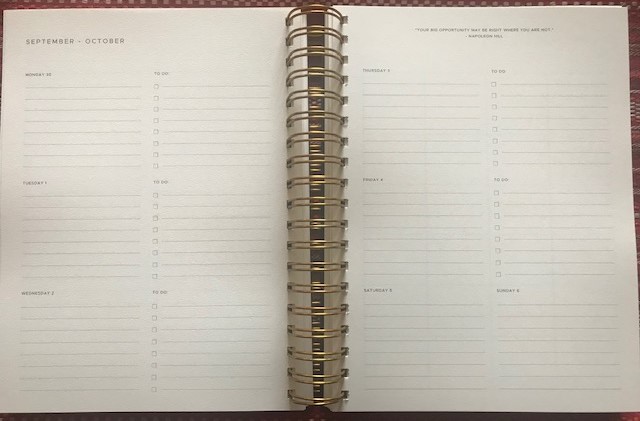
I chose a two-page weekly spread. One reason I picked this particular spread is that there are lines- my writing gets sloppy if I only have open boxes. I also find that I like to have a running To Do list and then put items into the specific day that I need to do something or that I have time.
I typically like to have time slots, so it was hard to pick my weekly from all the choices. However, when I really looked at my past planners with time slots I often end up adding in so many To Do’s that it becomes very sloppy and hard to decipher my timed appointments. I’m hoping this division of each day will help. I will put appointments on the left and my To Do’s on the right.
Blank Monthly Spread
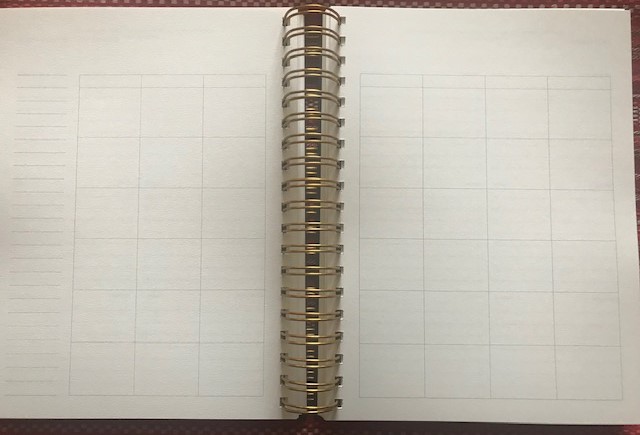
I placed this spread every week to use for homeschool plans! Actually, more of a homeschool checklist and record of what got done. We typically use open & go curriculum so I don’t do elaborate pre-planning. I will write a separate post with more details but basically, it will be similar to other teacher planners with “subjects” down the first column and then the remaining columns will correspond to the days of the week and one column for notes. I’m so excited to have a weekly spread for events and to do’s, plus this spread for homeschooling!
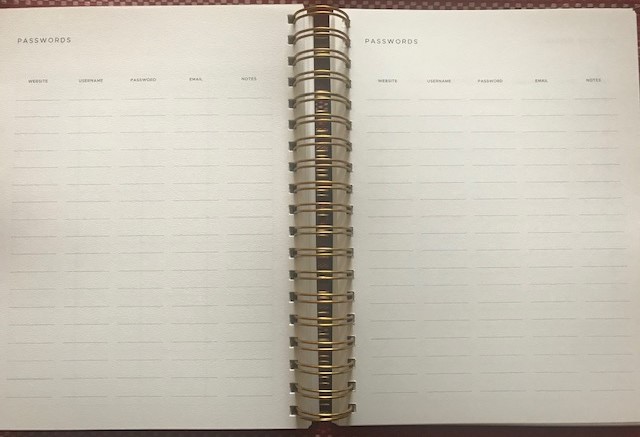
Passwords
Ahhhh… why does every. single.
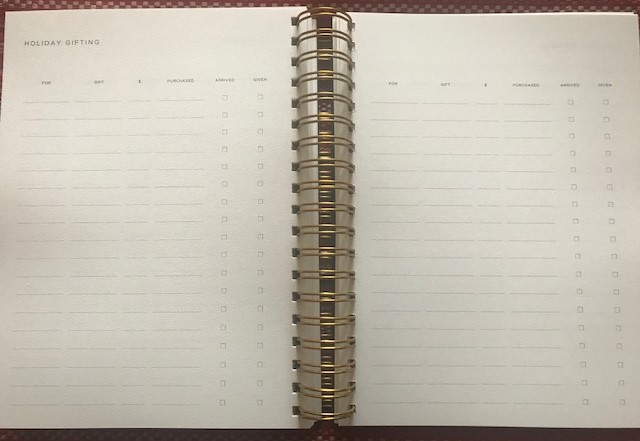
Holiday Gifting
I typically keep a running list of gift ideas for family and friends. I put 2 of these spreads into my Golden Coil planner so I can use one for my husband and kids and the other for family & friends.
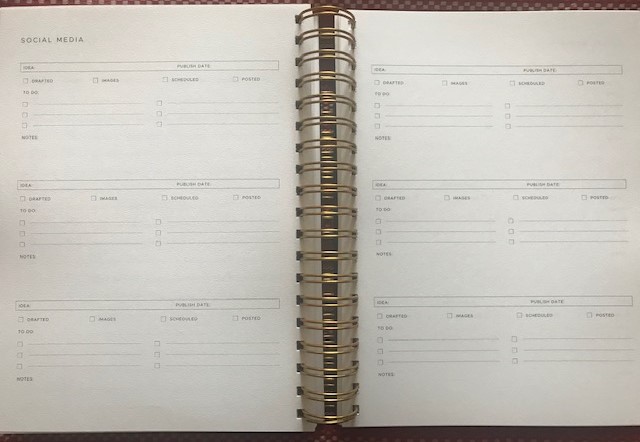
Social Media Spread
I added multiple social media spreads to help me organize my blog posts.
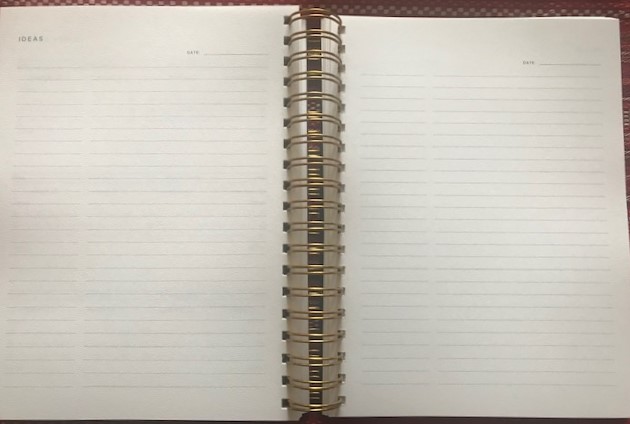
Ideas Pages
12 lined “Ideas” pages that will be for
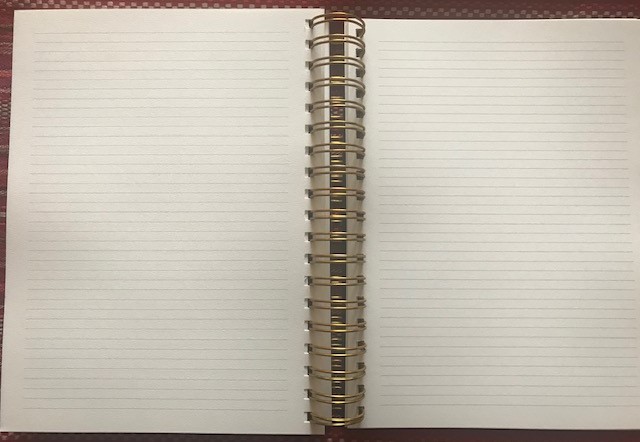
Lined Notes Pages
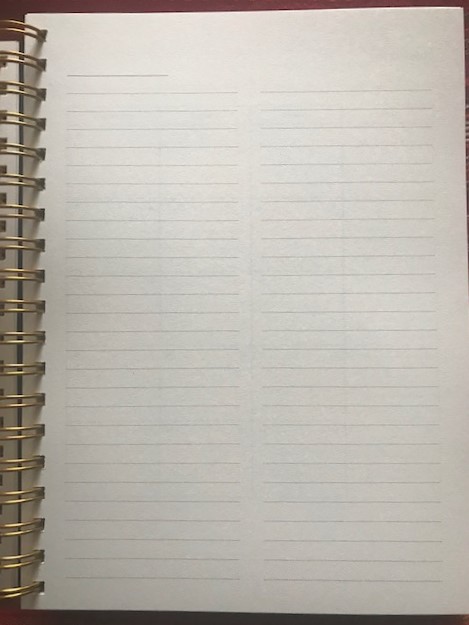
I added 16 lined pages that will be used for all things homeschool. I typically jot down ideas for next year, anything we need to focus on, reading logs, and curriculum shopping/planning lists.
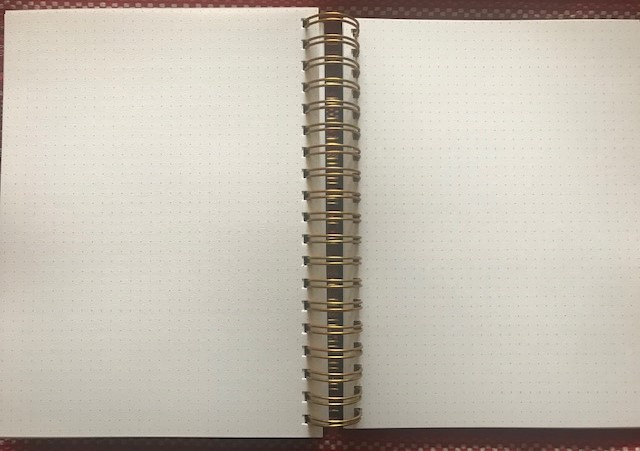
Dot Grid Pages
This section will be for ideas related to our business and our ranch. I like having the dot grid for plotting out construction projects, fencing, etc. I was able to add 12 pages of dot grid.
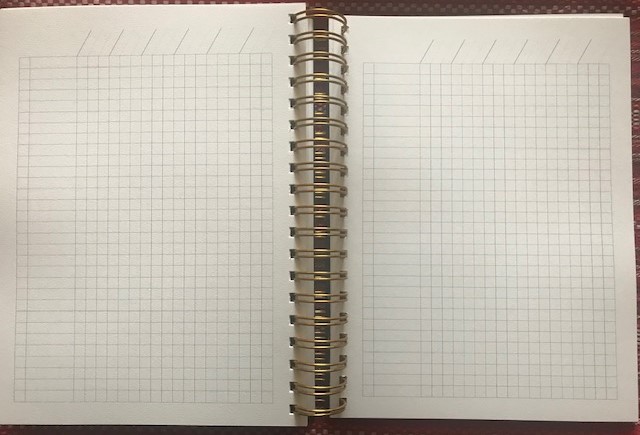
Spreadsheets
I love to have my bill pay tracker in my planner. This allows me to access it even when I’m on the go. I put 4 of these spreads in my planner so I can use one for personal bills, two for business bills, and then I have one extra. That is the beauty of Golden Coil- you can make it work for the way you plan!
There is one pocket at the back. A pocket is a necessity for me. This is standard on the planner.

The Back Inside & Back Cover
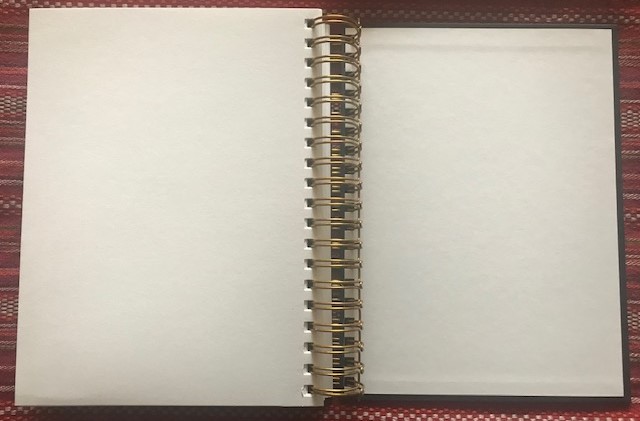
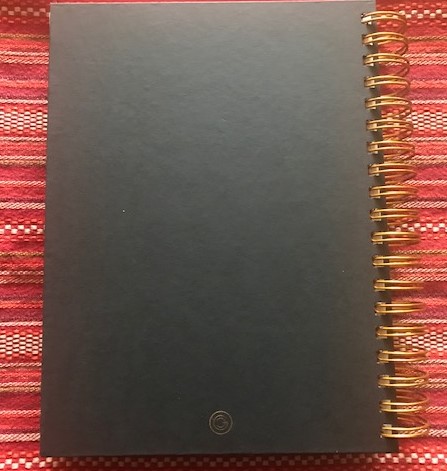
I love the little logo on the back cover- it’s a nice touch!
Loves
- Customizable. Seriously, you can make this planner any way you like to fit your life.
- Planning Process. They have made the customization process simple and elegant. There are a ton of options but not so much that decision fatigue takes over.
- Size is just right- not too big but not teeny tiny.
- Hardcover-I
like having a sturdy, hard cover to protect the planner. - Mohawk paper is lovely.
- Monday start for the months and weeks! Yay!
- Professional look.
- The pages have a clean, minimalist format. It gives you a blank slate, perfect for those who like to keep it simple or like to add their own embellishments. However, if you like a lot of color pre-printed in your planner this may not be for you.
- Did I mention CUSTOMIZATION!?! Really- it’s amazing.
Room for Improvement
These are very nit-picky items as there is a lot to love about the Golden Coil planner. I don’t consider any of these to be deal breakers. Also, a brief look at their Instagram and it’s apparent that the company is committed to adding more options and improving their planners. A
- The option for tabs.
- Numbered pages.
- More cover options.
- An option for lined boxes on the monthly spreads.
- Larger boxes on the monthly spread. The boxes are a bit small but that does leave you with lots of extra space along the top and/or bottom for sticker decorating or notes.
- The ability to place spreads in multiple places (I read that they are working on this). For example, right now if you pick the dot grid pages you can only place them in one “location” in the planner- the front, back, monthly or weekly. You cannot opt to have the same spread at the front of the planner and then place it monthly as well.
Overall, Golden Coil is a beautiful, customizable planner. It does not disappoint.
I will update this post in a few months after I’ve used the planner for a bit.
Want to build your own planner?
Head over to goldencoil.com and play around with their planner customizer (please note it will not work on mobile devices). If you are a planner person, I promise you will enjoy it!

Have questions about the Golden Coil planner? Let me know in the comments below.
Happy Planning!
xoxo, Melissa
